OP
OP

Follow along with the video below to see how to install our site as a web app on your home screen.
Note: This feature may not be available in some browsers.


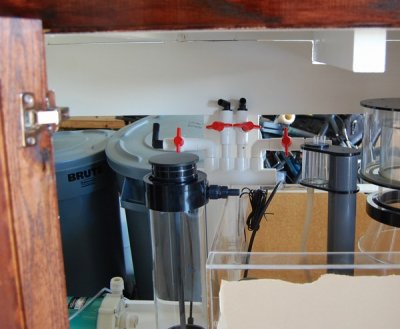
I use velcro strips to keep my wires clean and it does very well. I just velcro them to the back of the pipes and stuff.
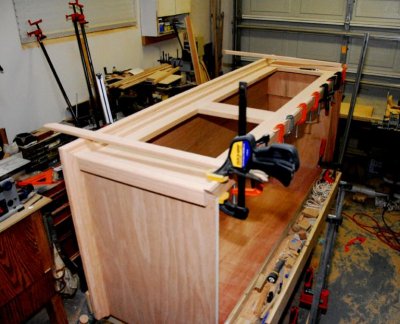
That's a good idea. Like I said before, this is it no more builds so im going to do it right and the way I want.
")

I'm hoping soon that I'll get to have a build thread, haha. You did a great job on yours, and I like that wire management. I use the same stuff, or similar, on my server racks

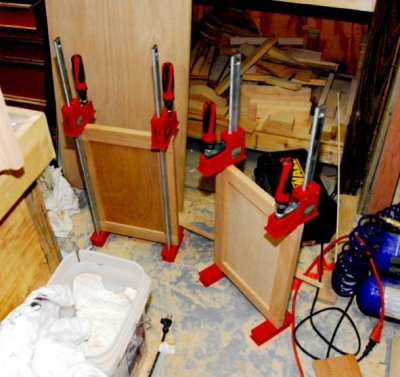
WOW, doing a fantastic job on that stand. I built my own stand too, but painted in black to hide my non-carpenter skills, haha.
Built my own cabinet...that was interesting. Didnt turn out too bad, despite not having some of the tools I would have liked (table saw...wood other than the stuff that has been sitting outside under a tarp for 10 years...but it worked out okay.)
Your cabinetry skills surpass mine...the next one I build will be a little bit tighter though, and I wont skimp on the supplies.
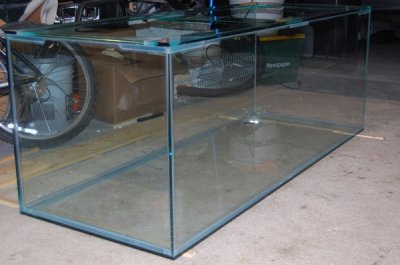
Cant wait to see this thing filled up. I think you need at least a 180g if you really want space to work with...just a great tank size, and Im sure yours reflects that.