thank you for keeping us up to date on all the latest stuff you're doing. it serves as inspiration for me to continue to tweak and improve my setup!

Navigation
Install the app
How to install the app on iOS
Follow along with the video below to see how to install our site as a web app on your home screen.
Note: This feature may not be available in some browsers.
More options
You are using an out of date browser. It may not display this or other websites correctly.
You should upgrade or use an alternative browser.
You should upgrade or use an alternative browser.
Lasers 1000+ Inwall Starfire
- Large Build
- Thread starter Laser
- Start date
- Tagged users None


Wow!!! That is an AWESOME build. And still adding on! I spent half the night reading your build. I love to see it in person one day when I go to Dallas. Keep the update coming, you are doing a fine job.
Last edited:
OP
OP

Thanks to all that are following and enjoying the progress!
Yesterday was a long day reworking the plumbing to incorporate the frag tank. Here are a few shots with most of the plumbing now gone and the sump empty and dismantled. Kind of a helpless feeling of we started this and have to finish...So about 125 gallons was pumped for the display into the frag tank. All the frags and colonies were then moved from the sump over to the frag tank and the sump emptied and plumbing cut..


Yesterday was a long day reworking the plumbing to incorporate the frag tank. Here are a few shots with most of the plumbing now gone and the sump empty and dismantled. Kind of a helpless feeling of we started this and have to finish...So about 125 gallons was pumped for the display into the frag tank. All the frags and colonies were then moved from the sump over to the frag tank and the sump emptied and plumbing cut..

OP
OP
few shots of the plumbing almost complete. We still need to hook up the drain for water changes but ran out of gas at midnight last night. We started the project at 10am so decided I could wait a couple days for a water change.:xd:


OP
OP
Great idea on the whiteboard! I suppose with a tank that big, you have to keep on top of things.

OP
OP
All the acro colonies will be going into the main display once I can get a mini colony cut to grow out in the frag tank so we will have more space soon.Looks like you gonna need a bigger frag tank. Lol.
OP
OP
Great idea on the whiteboard! I suppose with a tank that big, you have to keep on top of things.
And then a week after I put it up Apex comes out with a new software version that keeps up with all the stuff I was trying to track! Now the kids just draw pictures..

OP
OP
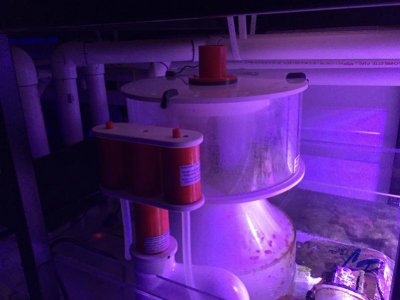
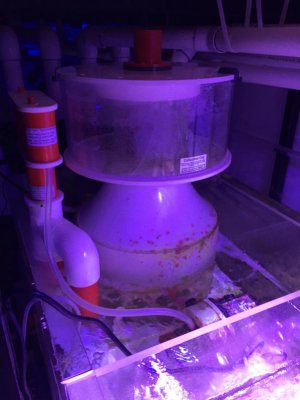
we were able to complete phase 2 of the plumbing. We can now perform water changes with return pump from both the display sump as well as the soon to be QT/Frag sump. Pics show each return pump and the valves to go to the drain.
1st pic is dart return for the qt/frag tank
2nd pic is where both lines go to the drain that leaves the house
3rd pic shows gold hammerhead return valve for water changes on main system


1st pic is dart return for the qt/frag tank
2nd pic is where both lines go to the drain that leaves the house
3rd pic shows gold hammerhead return valve for water changes on main system
OP
OP
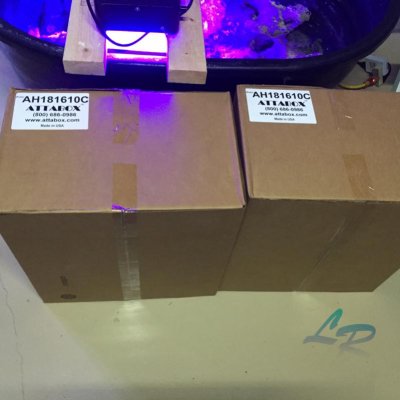
http://attabox.com/18x16x10-nema-clear-enclosure/
I just ordered 2 of these attabox enclosures to place all the apex equipment on 2 of the control walls. We will install all the equipment and place led lights in the enclosure to give it a nice custom look like I did 25 years ago when I was tricking out my speaker box enclosure in a 1982 Corvette. :drum:
This will allow me to clean up the mess of wires you can see in the above pics.

Looking good. It's gonna be cool looking when you get all those apex in the box with led's. I remember those good old days with light on the speakers. I had blue neon under my car for that glowing affect. Now I got Blue LED's on top of my tank. :bigsmile: LOL
OP
OP
here is rough drawing of how the setup will work with the frag tank. The qt stand will be same height and qt will also be 16" so same as frag tank going all the way across the wall. The refugium will sit below the qt. Return pump will pump back to qt, refugium, and the frag tank all with valves and all able to be isolated. Tried google sketch for first time and made this in about 20 minutes so pretty cool software.

OP
OP
Few more goodies showed up today. The attabox's will house all the apex equipment on the various walls. I will need one more box but wanted to start with these to get a better idea of size and how much I can get into each box. They are way bigger than I thought so will not need the largest one. I will be making a black acrylic square to mount all the units on and then drill holes below each unit to run the wires. The entire fabricated board then will be attached to the attabox and mounted. I will add a led light inside to be able to see at any time.
Attachments


Similar threads
- Replies
- 8
- Views
- 203

- Replies
- 5
- Views
- 194
- Price: 500
- Shipping NOT Available
- Replies
- 0
- Views
- 283
- Replies
- 19
- Views
- 447
New Posts
-
Possible Dino Outbreak-Help with ID and treatment
- Latest: blueberryblue
-

-

-


