450 Gallons, My Peninsula build.

wishntoboutside

Snow flake
View Badges
Joined
Dec 13, 2008
Messages
1,036
Reaction score
237
Location
So California
Rating - 0%
0   0   0
Hello all,

First of all this build is long over do.

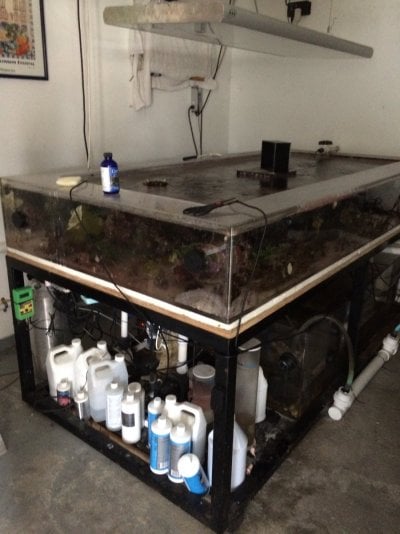
A little introduction about myself as I have not been as active as I use to hear. Hopefully this build thread will change that.I have been in the hobby for over 20 plus years. I have had my own service company and have also worked within the aquarium industry for a long time. Multiple large companies including Sunlight Supply and Marine Depot. I am Presently working for CoralVue doing West Coast Sales.. For those that know me I have always had the wet hand in the hobby. So doing a large tank build was a matter of time. I broke down about 4 aquariums, grow outs and other tanks to focus on one large tank. Regroup from things and start fresh. I have had a aquarium room in my garage for some time and I was planning on doing a picture frame style tank and came to my senses. I have lots of room in the living room. Let's view it from as many sides of possible.

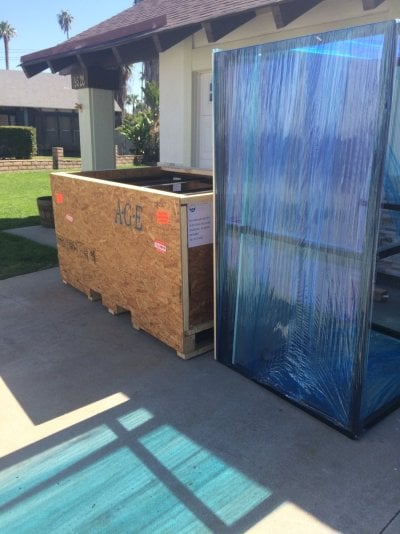
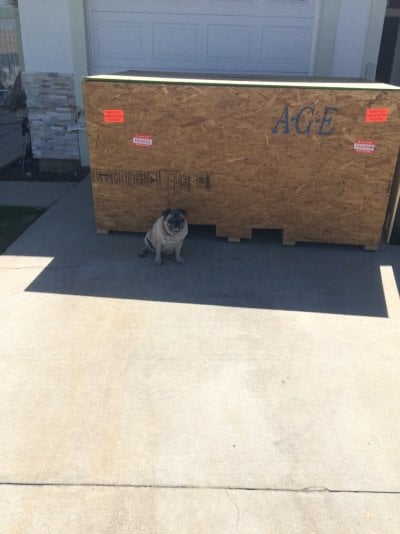
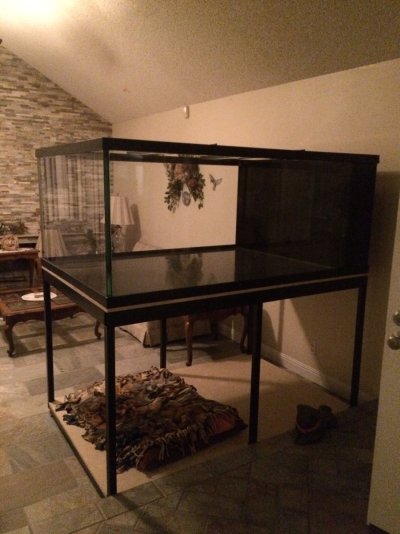
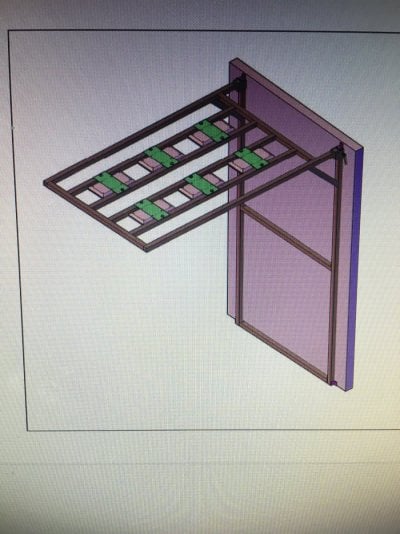
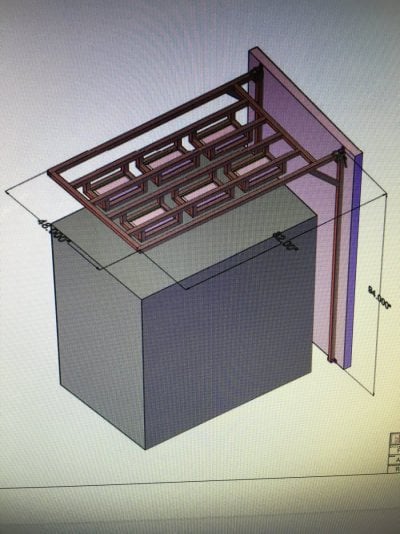
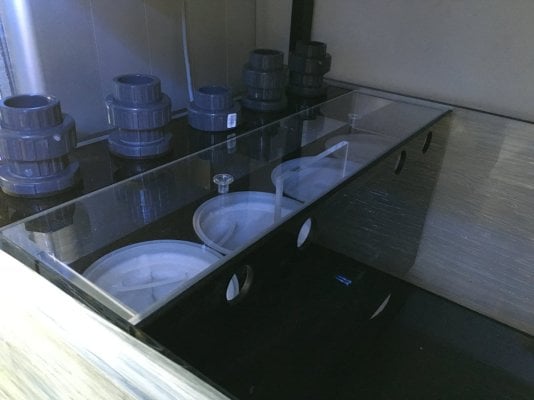
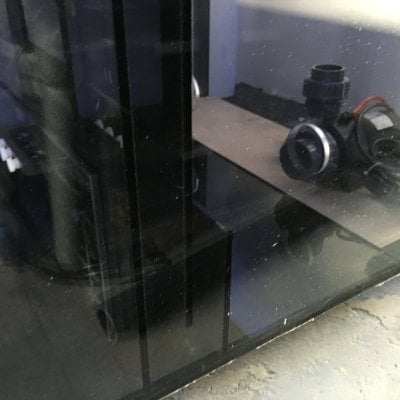
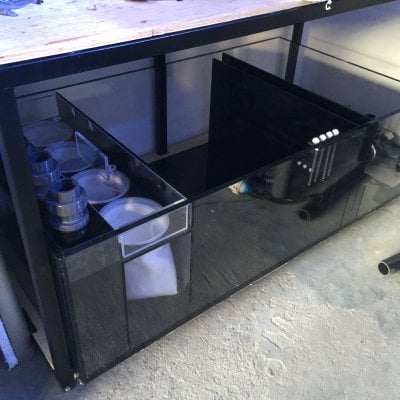
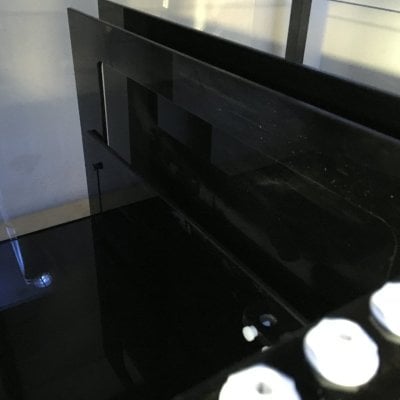
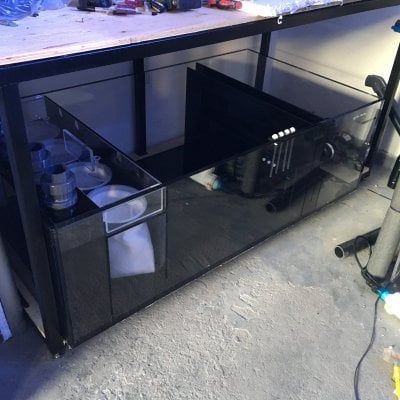
So I am going to start from the beginning. I ordered a big tank about 7 years ago. I ordered a tank thru AGE. It is hybrid style All glass and PVC bottom. the dimensions are 72 x 48 x 3O. The overflow box runs on the entire back wall. The stand is 42 inches tall as I wanted it eyelevel. Yes now there is always a step ladder around my aquarium unless company comes over.

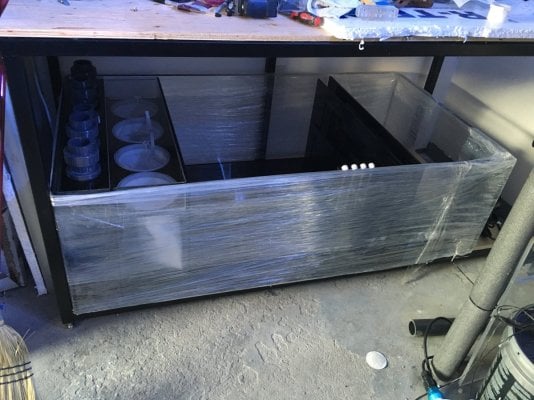
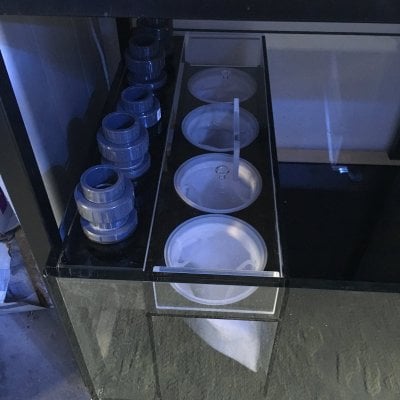
Here is my proud day when it arrived.

IMG_2096.jpg

Please be patient as I have lots of stuff to bring it up to date so this may be a good story for some.
 
Last edited:
OP
OP
wishntoboutside

wishntoboutside

Snow flake
View Badges
Joined
Dec 13, 2008
Messages
1,036
Reaction score
237
Location
So California
Rating - 0%
0   0   0
So now that the tank is in place. The first problem was discovered. . I had them build the stand to get a better warranty on it . The stand was not up to my expectations. There was no cross brace or anything and I could push the tank from one side to the other and watch it shake back and forth like hello. There're was no way I was going to put water in this. Of course I was questioned if tank was level even sent pvc blocks to put under the adjusters to make sure all was right. I ended up making a video of it and sending it to the manufacturer. They stepped up for me and saw the issue. They made me another stand and had it shipped out. Great customer service by them but for the record their welders are far from being engineers.
 

Attachments

  • IMG_2104.jpeg
    IMG_2104.jpeg
    142.3 KB · Views: 162
  • IMG_2106.jpeg
    IMG_2106.jpeg
    182.8 KB · Views: 146
  • IMG_2107.jpeg
    IMG_2107.jpeg
    175.4 KB · Views: 125
OP
OP
wishntoboutside

wishntoboutside

Snow flake
View Badges
Joined
Dec 13, 2008
Messages
1,036
Reaction score
237
Location
So California
Rating - 0%
0   0   0
Next was to start the plumbing. This was a little bit of an ordeal as right behind the tank is the laundry room. There was a plug that needed to be moved and then a right turn into the fish room. I decided at that time it would be super cool to do the tank in all scheduled 80 grey and spears fittings. For the record the cost of this was so much more than I expected. If I did it again it would be all white pipe and spend the money on other things.
At this point I was really getting into breaking down the fish room and clearing much more out. I will show random pictures of tanks, displays and grow out as things go. My goal was to slowly work on the plumbing but also each month or two acquire the next piece or two. As we all everything in a large build is not cheap and my goal was to try to do it all right in the first time.
 
OP
OP
wishntoboutside

wishntoboutside

Snow flake
View Badges
Joined
Dec 13, 2008
Messages
1,036
Reaction score
237
Location
So California
Rating - 0%
0   0   0
It the meantime it was also time to start to get creative with the aqua scaping. I had a lot of rock to pick thru. All rock was rinsed acid washed. and then soaked rinsed and probably again as I recall being a little extreme on this. Here are some of the pictures of the progress.

IMG_0104.jpeg IMG_0287.jpeg IMG_0103.jpeg IMG_0283.jpeg
 

Rjukan

Day Dreamer
View Badges
Joined
Sep 4, 2018
Messages
1,172
Reaction score
2,762
Location
Staten Island
Rating - 0%
0   0   0
So now that the tank is in place. The first problem was discovered. . I had them build the stand to get a better warranty on it . The stand was not up to my expectations. There was no cross brace or anything and I could push the tank from one side to the other and watch it shake back and forth like hello. There're was no way I was going to put water in this. Of course I was questioned if tank was level even sent pvc blocks to put under the adjusters to make sure all was right. I ended up making a video of it and sending it to the manufacturer. They stepped up for me and saw the issue. They made me another stand and had it shipped out. Great customer service by them but for the record their welders are far from being engineers.
Very cool. But where is the cross bracing? Is that the new stand, or still the old?
The dimensions look great btw!
 

Perfectly_Imperfekt1

Active Member
View Badges
Joined
Dec 27, 2014
Messages
210
Reaction score
127
Location
Murrieta, CA
Rating - 0%
0   0   0
Next was to start the plumbing. This was a little bit of an ordeal as right behind the tank is the laundry room. There was a plug that needed to be moved and then a right turn into the fish room. I decided at that time it would be super cool to do the tank in all scheduled 80 grey and spears fittings. For the record the cost of this was so much more than I expected. If I did it again it would be all white pipe and spend the money on other things.
At this point I was really getting into breaking down the fish room and clearing much more out. I will show random pictures of tanks, displays and grow out as things go. My goal was to slowly work on the plumbing but also each month or two acquire the next piece or two. As we all everything in a large build is not cheap and my goal was to try to do it all right in the first time.

I can relate to the cost of scheduled 80 along with colored pipe. Personal preference for me. Who's going to look at the plumbing underneath/behind the tank. No one, but I care and know. LOL....
 
OP
OP
wishntoboutside

wishntoboutside

Snow flake
View Badges
Joined
Dec 13, 2008
Messages
1,036
Reaction score
237
Location
So California
Rating - 0%
0   0   0
Very cool. But where is the cross bracing? Is that the new stand, or still the old?
The dimensions look great btw!
Thanks for the compliments on the dims. As I show more content it is like a deep cube.

The braces. I will show a better picture but they built the same stand with little triangles on the top both ways. At this point I was pretty ticked and was like ok it is covered under warranty so it is on them. I honestly have seen local local club members build better stands out of there garage then and end product I got. I guess end of day it is designed to be covered so to them it may not matter. So long ago I have moved on
 
OP
OP
wishntoboutside

wishntoboutside

Snow flake
View Badges
Joined
Dec 13, 2008
Messages
1,036
Reaction score
237
Location
So California
Rating - 0%
0   0   0
A really tough part of this project was the lights. This was now around 2017ish and I knew lights were changing and I was now working for a lighting company that is now out of business. I wanted something that I could adapt if needed but also not rust away. I decided to go the 8020 option.
Here are some of the design I was looking at.
 

Attachments

  • IMG_0350.jpeg
    IMG_0350.jpeg
    302.4 KB · Views: 93
  • IMG_0347.jpeg
    IMG_0347.jpeg
    304 KB · Views: 89
OP
OP
wishntoboutside

wishntoboutside

Snow flake
View Badges
Joined
Dec 13, 2008
Messages
1,036
Reaction score
237
Location
So California
Rating - 0%
0   0   0
I jumped ahead on the light rack and I will go back to the plumbing some more. I had a stand made to hold a 5 foot sump. This actually came out really nice. However more issues. Sump was ordered and in process if I recall both arrived in a few days. It was looking great and super excited only to be hit with another setback. The sump was made about 1.25 inches wider than the stand. I do not know what happened but it was truly disappointing. I really did not have much of choice on this and has to keep moving forward.
Here are some pictures of the sump
 

Attachments

  • IMG_0134.jpeg
    IMG_0134.jpeg
    204.5 KB · Views: 92
  • IMG_0137.jpeg
    IMG_0137.jpeg
    188.6 KB · Views: 85
  • IMG_0136.jpeg
    IMG_0136.jpeg
    122.3 KB · Views: 90
  • IMG_0138.jpeg
    IMG_0138.jpeg
    140.5 KB · Views: 89
  • IMG_0142.jpeg
    IMG_0142.jpeg
    221.2 KB · Views: 86
  • IMG_0139.jpeg
    IMG_0139.jpeg
    115.7 KB · Views: 88
  • IMG_0144.jpeg
    IMG_0144.jpeg
    233.4 KB · Views: 87
OP
OP
wishntoboutside

wishntoboutside

Snow flake
View Badges
Joined
Dec 13, 2008
Messages
1,036
Reaction score
237
Location
So California
Rating - 0%
0   0   0
Yo, Richard! Was this all from 7 years ago?
hello Ian. Yes this is my current tank that I wanted to go back and document share my success and failures with some. I will slowly bring this up to date and it will be loaded with content. The aquarium presently is doing amazing.
 
Last edited:

Reefing threads: Do you wear gear from reef brands?

  • I wear reef gear everywhere.

    Votes: 20 14.4%
  • I wear reef gear primarily at fish events and my LFS.

    Votes: 10 7.2%
  • I wear reef gear primarily for water changes and tank maintenance.

    Votes: 1 0.7%
  • I wear reef gear primarily to relax where I live.

    Votes: 22 15.8%
  • I don’t wear gear from reef brands.

    Votes: 77 55.4%
  • Other.

    Votes: 9 6.5%
Back
Top