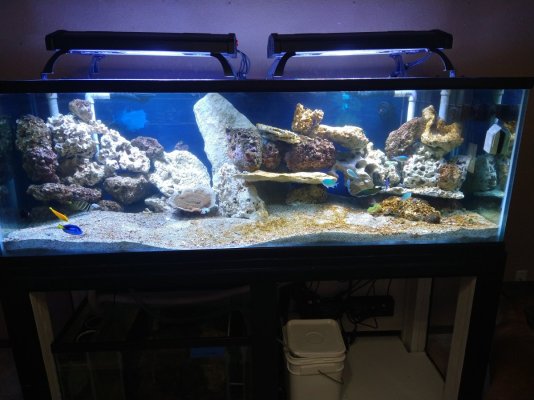
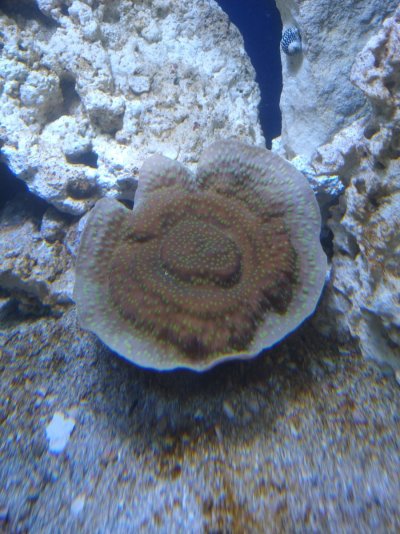
Figured I'd finally start a build thread as this tank is actually progressing along.
I got a used old Oceanic 180 from a buddy. Thanks @Timfish! It is ~25 years old and was in need of some TLC when I got it. It came with a sump, refugium, and some other stuff but I elected to only keep the tank itself. Here you get a great view of my crowded and messy garage, and the tank as it was received. Old wood grain trim on the Oceanic, lots of coralline, old silicone, and overflow boxes.
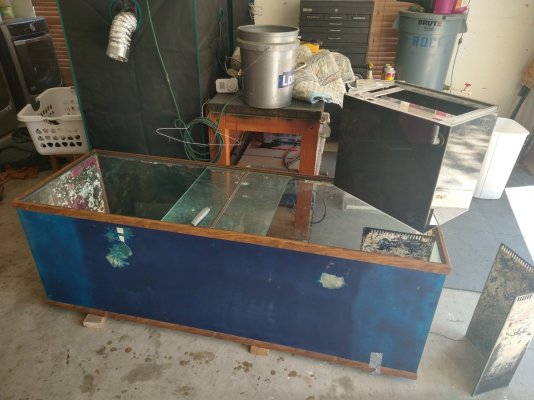
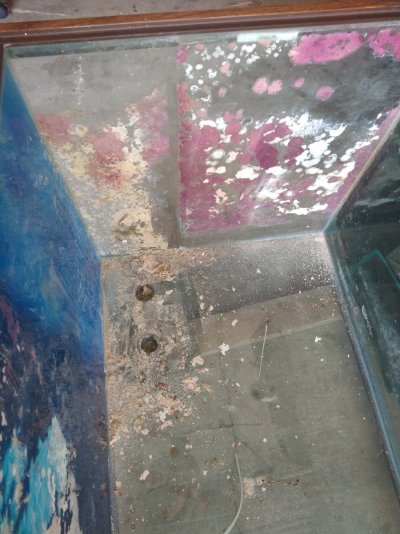
My thoughts were to clean it up and make it more presentable. So, I started by removing the overflow boxes. I broke them both trying to remove them, so reuse was out of the question. Then, I scraped off all the coralline and other stuff encrusting the walls. There were a lot of razor blades, vinegar, and choice words used for this operation, but I eventually got it all off.
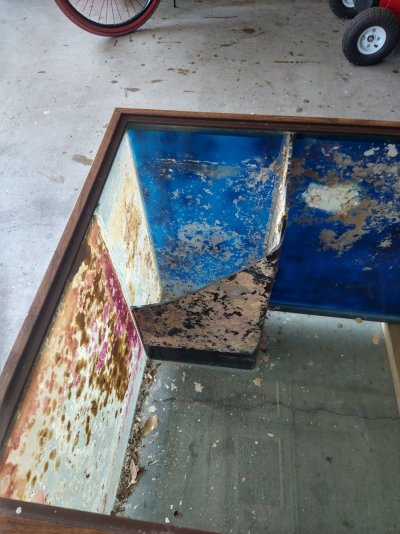
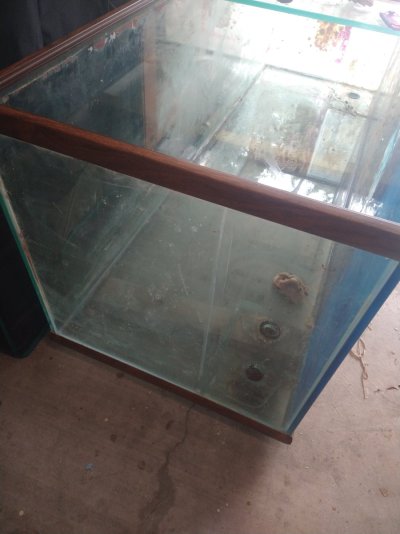
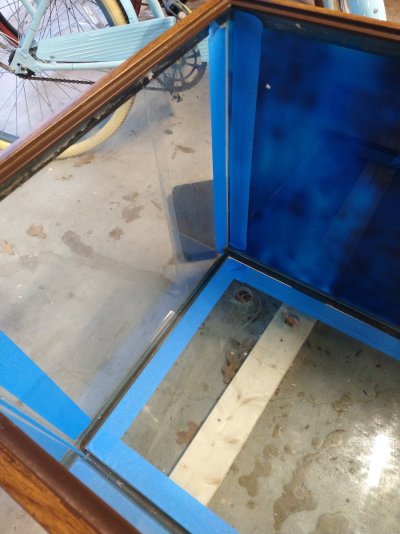
The tank has dual overflows and dual returns. The intent is to not have overflow boxes but have standpipes hidden by rock work which will allow me to use all that previously dead overflow box space for rocks and other stuff. I was not loving the idea of 180 gallons of saltwater in the living room with 25-year-old silicone. So, I removed all of the silicone from the edges. NOTE: I didn't pull the glass panels apart. They seemed fine. I stripped all the 'caulked' silicone, and resealed. Again, this involved a lot of razors, vinegar, and..... It is not an easy task. I taped it off to mask the walls and proceeded to silicone it up. I used the ASI silicone, and it STINKS! Tons of out gas with this. Open the garage door when you use this stuff. It will melt your eyebrows. I let it cure for an hour or so and yanked the tape off. The silicone job ain't the prettiest but it works so IDK.
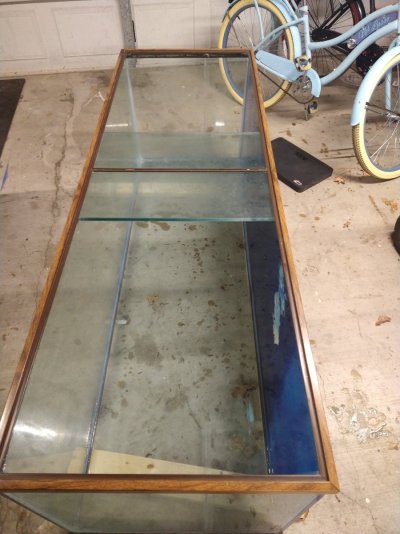
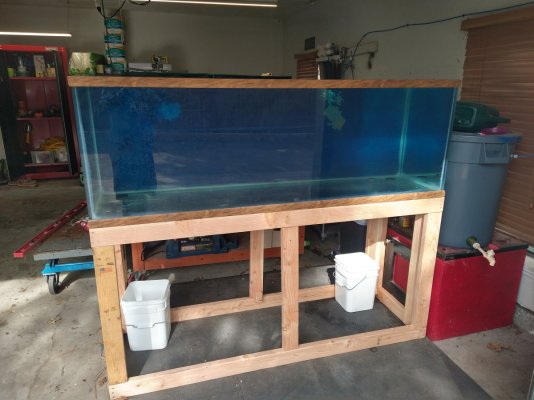
I let it cure for a few days and while it was curing, I took some time to build a stand. I've used the design that Rocket Engineer shared a few other times, and it was worked great so figured I'd use it once again. I went with the optional center post brace to keep things from warping. Once assembled, we lifted Heavy onto the new stand and then did a 4-day leak check. No leaks! (Yes, one of the supports is not square. This has been subsequently resolved.)
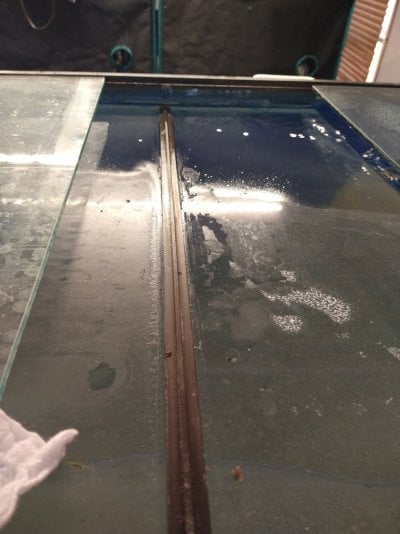
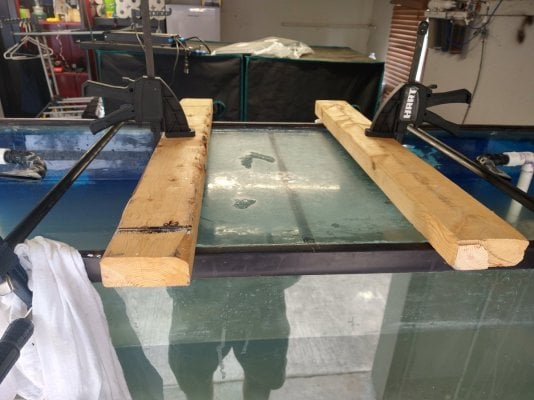
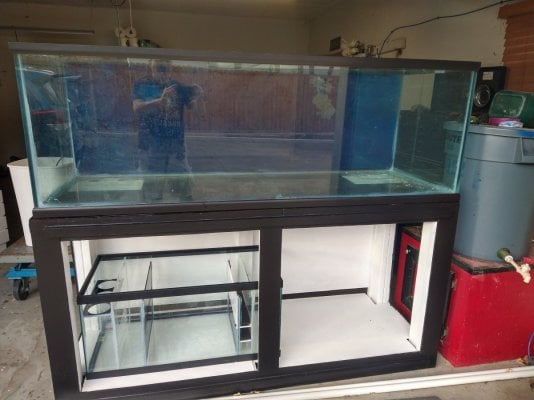
After leak check, I got the stand painted and covered up the old school wood grain trim with the same paint as the stand so it will all match. (Two coats of Kills Premium and two coats of paint.) Once it goes into the living room, I'll make some removable door panels to hide the sump and stuff. For the sump I'm using a 40-gallon breeder, with a Fiji Cube kit. So glad that I went with that kit. The installation was super easy and came out way better than my prior homebrew sumps. I got some new glass tops from a local glass shop.
This is where we are today. Next week I'll work on plumbing and get the saltwater mixing and test pumps.
I'll post more as this develops.
I got a used old Oceanic 180 from a buddy. Thanks @Timfish! It is ~25 years old and was in need of some TLC when I got it. It came with a sump, refugium, and some other stuff but I elected to only keep the tank itself. Here you get a great view of my crowded and messy garage, and the tank as it was received. Old wood grain trim on the Oceanic, lots of coralline, old silicone, and overflow boxes.


My thoughts were to clean it up and make it more presentable. So, I started by removing the overflow boxes. I broke them both trying to remove them, so reuse was out of the question. Then, I scraped off all the coralline and other stuff encrusting the walls. There were a lot of razor blades, vinegar, and choice words used for this operation, but I eventually got it all off.


The tank has dual overflows and dual returns. The intent is to not have overflow boxes but have standpipes hidden by rock work which will allow me to use all that previously dead overflow box space for rocks and other stuff. I was not loving the idea of 180 gallons of saltwater in the living room with 25-year-old silicone. So, I removed all of the silicone from the edges. NOTE: I didn't pull the glass panels apart. They seemed fine. I stripped all the 'caulked' silicone, and resealed. Again, this involved a lot of razors, vinegar, and..... It is not an easy task. I taped it off to mask the walls and proceeded to silicone it up. I used the ASI silicone, and it STINKS! Tons of out gas with this. Open the garage door when you use this stuff. It will melt your eyebrows. I let it cure for an hour or so and yanked the tape off. The silicone job ain't the prettiest but it works so IDK.


I let it cure for a few days and while it was curing, I took some time to build a stand. I've used the design that Rocket Engineer shared a few other times, and it was worked great so figured I'd use it once again. I went with the optional center post brace to keep things from warping. Once assembled, we lifted Heavy onto the new stand and then did a 4-day leak check. No leaks! (Yes, one of the supports is not square. This has been subsequently resolved.)

After leak check, I got the stand painted and covered up the old school wood grain trim with the same paint as the stand so it will all match. (Two coats of Kills Premium and two coats of paint.) Once it goes into the living room, I'll make some removable door panels to hide the sump and stuff. For the sump I'm using a 40-gallon breeder, with a Fiji Cube kit. So glad that I went with that kit. The installation was super easy and came out way better than my prior homebrew sumps. I got some new glass tops from a local glass shop.
This is where we are today. Next week I'll work on plumbing and get the saltwater mixing and test pumps.
I'll post more as this develops.


