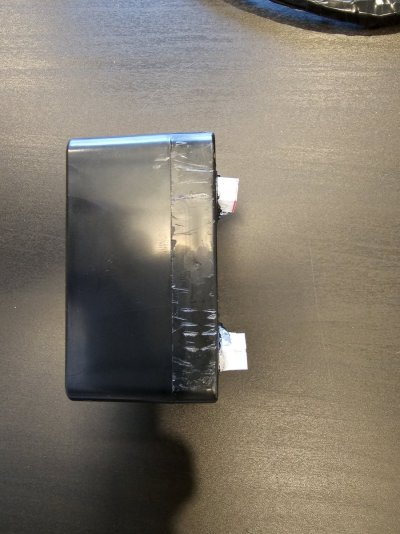
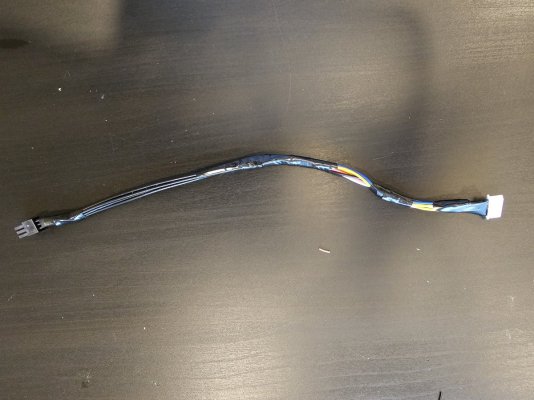
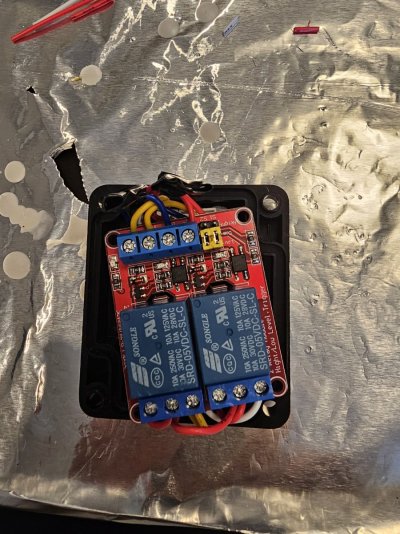
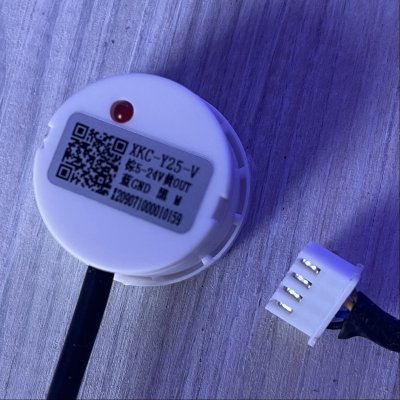
I have changed on my DDR the optical sensor for a Contactless Liquid Level Sensor.
It shows on the apex but stay always open. the light on the sensor change when in touch with the liquid but on the apex nothing change, stay open all the time.
Any suggestions ?
It shows on the apex but stay always open. the light on the sensor change when in touch with the liquid but on the apex nothing change, stay open all the time.
Any suggestions ?


")