Mo’s Reef 2

OP
OP
Mo.

Mo.

Active Member
View Badges
Joined
Dec 4, 2011
Messages
347
Reaction score
372
Location
UK
Rating - 0%
0   0   0
Reeftank 0097.png

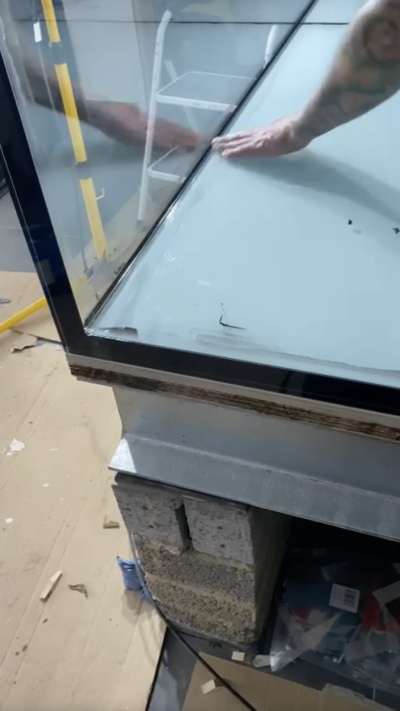
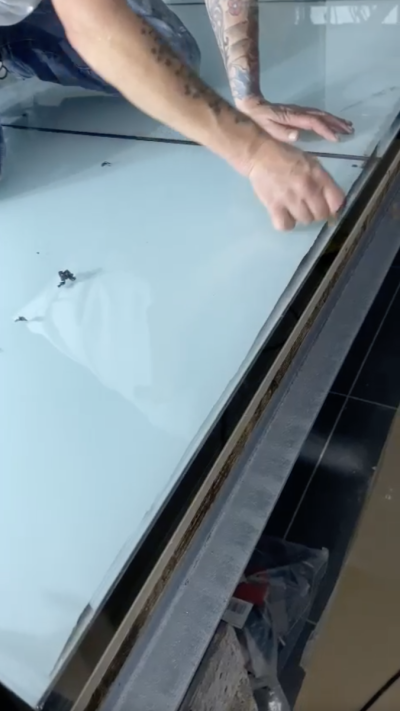
Ready for the front panel.


Reeftank 0098.png

This is a tricky manoeuvre due the multiple glass edges butting into the face panel.... easy does it.


Reeftank 0099.png

Nicely into position. No damage!!


Reeftank 0100.png

Perfect!


Reeftank 0101.png

Uh huh!
 
OP
OP
Mo.

Mo.

Active Member
View Badges
Joined
Dec 4, 2011
Messages
347
Reaction score
372
Location
UK
Rating - 0%
0   0   0
Reeftank 0107.png

One of the corner clamps.
Reeftank 0108.png


Reeftank 0109.png


Reeftank 0110.png

A slight adjustment was made to this panel before glueing.


Reeftank 0111.png

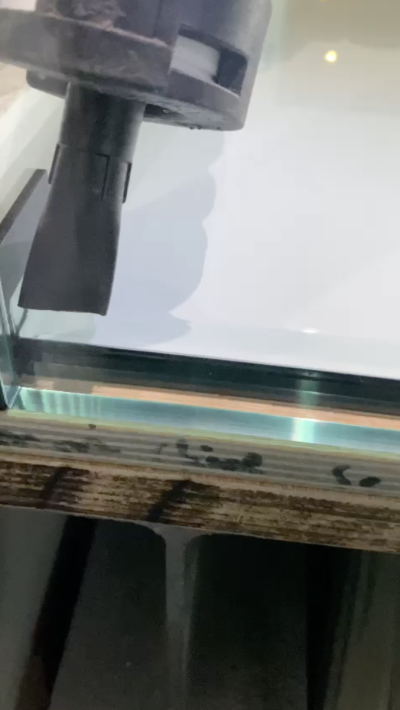
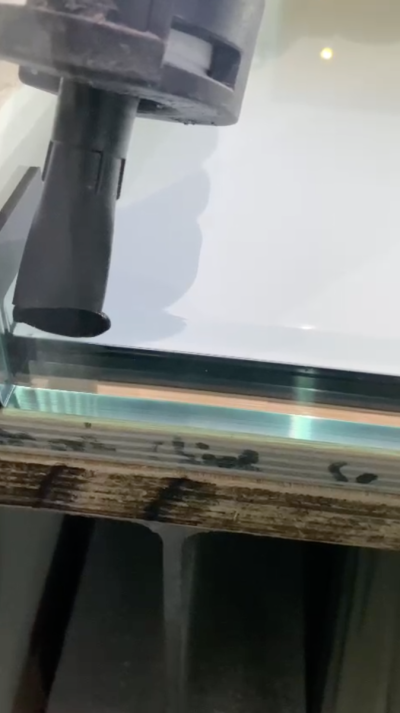
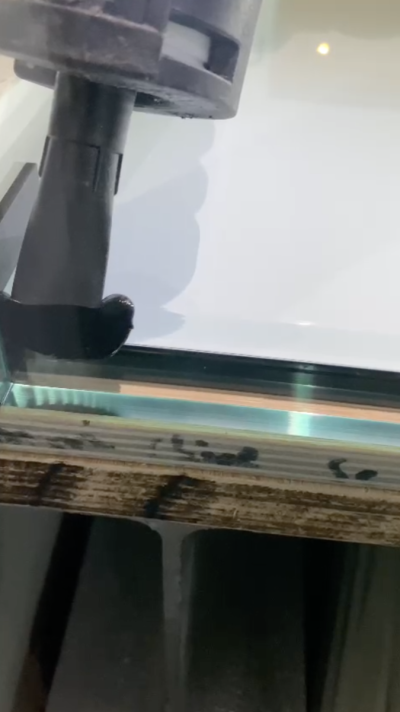
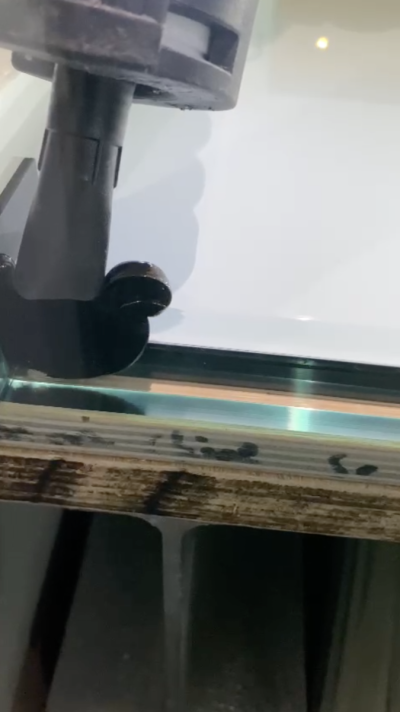
A close up of the silicone through the two base panels. This filled between the glasses all the way along with no gaps.
Reeftank 0112.png
A nice close up of the gap between the panes before filling. This sticks the base down to the plywood sheet as well.
Reeftank 0113.png Reeftank 0114.png Reeftank 0115.png Reeftank 0116.png Reeftank 0117.png Reeftank 0118.png
 
Last edited:
OP
OP
Mo.

Mo.

Active Member
View Badges
Joined
Dec 4, 2011
Messages
347
Reaction score
372
Location
UK
Rating - 0%
0   0   0
Reeftank 0118.png

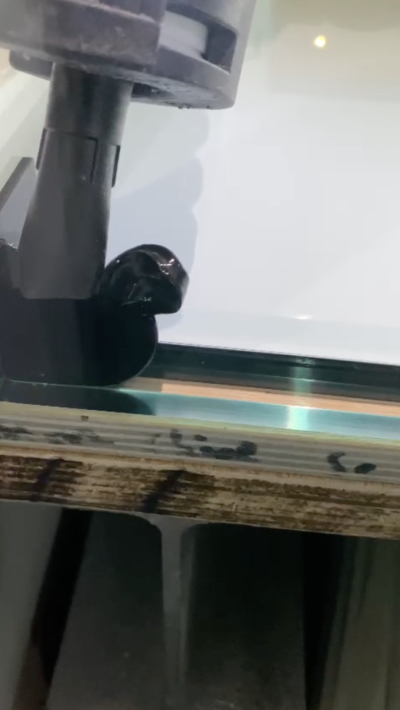
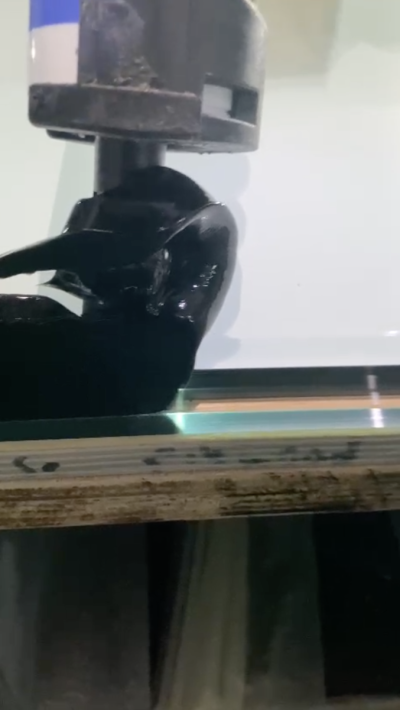
Large amounts of silicone. It passes throguth the glass panes and seals the plywood to the base as well.

Reeftank 0119.png

The joint is then filled and cleaned.

Reeftank 0120.png

Here you can see the joint filled with a surrounding thin layer of residual silicone.


Reeftank 0121.png

Care is taken to ensure the corners are well filled.


Reeftank 0122.png


Reeftank 0123.png

Once filled, the alignment brace is placed.

Reeftank 0124.png


Reeftank 0125.png

Just a thin collar of residual silicone.


Reeftank 0126.png

All four faces panes were placed and siliconed and the corner braces placed to align everything.


Reeftank 0127.png


Reeftank 0128.png


Reeftank 0129.png


Reeftank 0130.png

Clean joint.


Reeftank 0131.png
 
OP
OP
Mo.

Mo.

Active Member
View Badges
Joined
Dec 4, 2011
Messages
347
Reaction score
372
Location
UK
Rating - 0%
0   0   0
Reeftank 0132.png

Cleaning the outside joints


Reeftank 0136.png

Clean!!


Reeftank 0137.png
Reeftank 0138.png

You can see how clean the joints are.


Reeftank 0139.png
Reeftank 0140.png
Reeftank 0141.png
Reeftank 0142.png
Reeftank 0143.png
Reeftank 0144.png
Reeftank 0145.png
Reeftank 0146.png

Micky Boy!!
 

Attachments

  • Reeftank 0133.png
    Reeftank 0133.png
    761.8 KB · Views: 77
  • Reeftank 0134.png
    Reeftank 0134.png
    667 KB · Views: 69
  • Reeftank 0135.png
    Reeftank 0135.png
    591.3 KB · Views: 65

jacky.l

Community Member
View Badges
Joined
Mar 12, 2014
Messages
77
Reaction score
124
Location
Taiyuan China
Rating - 0%
0   0   0
The new tank is not built in the same way as your old one,I remember the previous one had a metal frame, and the glass at the bottom was arranged in a different way.
 
OP
OP
Mo.

Mo.

Active Member
View Badges
Joined
Dec 4, 2011
Messages
347
Reaction score
372
Location
UK
Rating - 0%
0   0   0
The new tank is not built in the same way as your old one,I remember the previous one had a metal frame, and the glass at the bottom was arranged in a different way.
You're right!!
Different tank builder this time......
 
OP
OP
Mo.

Mo.

Active Member
View Badges
Joined
Dec 4, 2011
Messages
347
Reaction score
372
Location
UK
Rating - 0%
0   0   0
Reeftank 0147.png

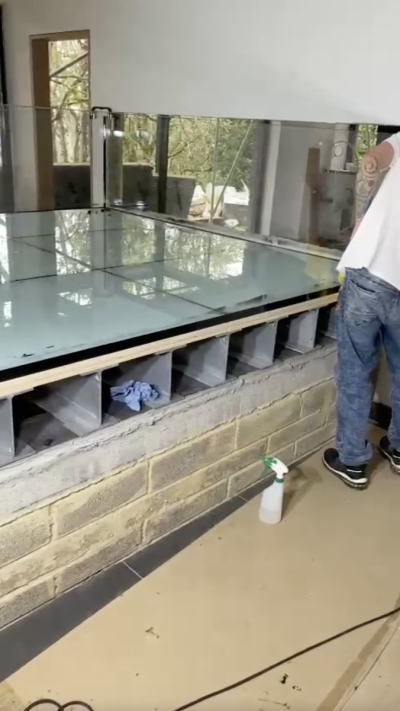
OK, so for all those wondering, here we have one of the lower brace bars with the corner being bevelled to fit.


Reeftank 0148.png
Reeftank 0149.png

8ft lower brace bar....


Reeftank 0150.png

Nicely bevelled corner.


Reeftank 0151.png

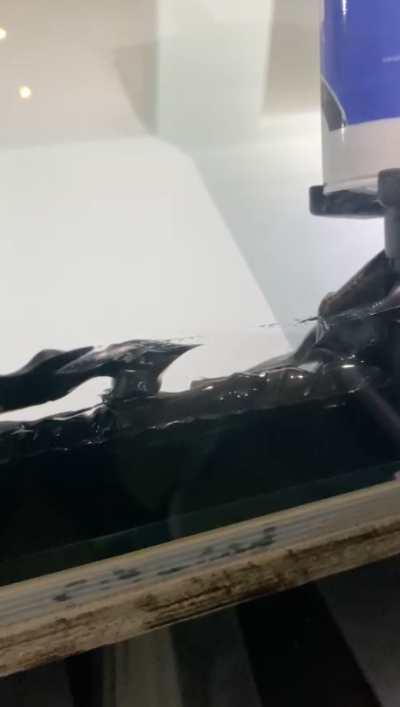
Silicone going on.


Reeftank 0152.png
Reeftank 0153.png

Second row of silicone....


Reeftank 0154.png
Reeftank 0155.png
Reeftank 0156.png

3rd row.....


Reeftank 0157.png
Reeftank 0158.png

and down it goes,,,,,


Reeftank 0159.png

pressed into place....


Reeftank 0160.png
Reeftank 0161.png
Reeftank 0162.png

Fill in the gaps.


Reeftank 0163.png
Reeftank 0164.png
Reeftank 0165.png

and a final heavy press!!


Reeftank 0166.png
Reeftank 0167.png

and a clean up....


Reeftank 0168.png
Reeftank 0169.png
Reeftank 0170.png

Onto the next one....


Reeftank 0171.png
Reeftank 0172.png
Reeftank 0173.png

That's 3 down......


Reeftank 0174.png
Reeftank 0175.png
Reeftank 0176.png
Reeftank 0177.png
Reeftank 0178.png
Reeftank 0179.png
Reeftank 0180.png

and 4 and .....breathe!!!


Reeftank 0181.png
Reeftank 0182.png


Nice work Mick!!!
 
OP
OP
Mo.

Mo.

Active Member
View Badges
Joined
Dec 4, 2011
Messages
347
Reaction score
372
Location
UK
Rating - 0%
0   0   0
OK.... more braces going on to complete the layer of Euro bracing around the tank.


Reeftank 0202.png


Carefully does it not to touch glass on glass!

Reeftank 0203.png
Reeftank 0204.png


Positioned and levelled. It was then siliconed.


Reeftank 0205.png
Reeftank 0206.png
Reeftank 0207.png
Reeftank 0208.png
Reeftank 0209.png
Reeftank 0210.png
Reeftank 0211.png
Reeftank 0212.png
Reeftank 0213.png
Reeftank 0214.png
Reeftank 0215.png
Reeftank 0216.png
Reeftank 0217.png
Reeftank 0218.png
Reeftank 0219.png
Reeftank 0220.png
Reeftank 0221.png
Reeftank 0222.png
Reeftank 0223.png
Reeftank 0224.png
Reeftank 0225.png
Reeftank 0226.png
Reeftank 0227.png
Reeftank 0228.png
Reeftank 0229.png
 
OP
OP
Mo.

Mo.

Active Member
View Badges
Joined
Dec 4, 2011
Messages
347
Reaction score
372
Location
UK
Rating - 0%
0   0   0
Hey- it’s going well.

I haven’t had time to post, but will dig out the final build photos and show some progression shots.

Cheers
Mo
 

TOP 10 Trending Threads

HAVE YOU EVER HAD A "REEF-SAFE" TANK MEMBER BECOME UNSAFE FOR YOUR REEF?

  • Yes, I had to remove the perpetrator from my tank.

    Votes: 40 49.4%
  • Yes, but the behavior was corrected and did not have to remove the perpetrator.

    Votes: 4 4.9%
  • No, but I have a tank member that has the potential to cause some trouble.

    Votes: 19 23.5%
  • No, all of my tank members are model citizens.

    Votes: 14 17.3%
  • Other (please explain).

    Votes: 4 4.9%
Back
Top