Like many of you, I started with a dream. Previously I had 5 saltwater tanks but when life happened sold tanks and fish. Memories of those tanks as well as any scuba or snorkeling would fan dream of returning to saltwater tank hobby. Those original fish only tanks were decorated with dead/dry corals, many from my parents trips to Florida Keys most winters while I was a child. I hung onto those corals, shelved in boxes in my parents' basement. Early 2019 those corals made their way to me in Texas, and dream took on more urgency. I joined local DFWMAS. I bought fish and coral books trying to replace what I used to have. I made my fish list. I dreamed more. In 2020 we completed remodeling enclosed porch off back of home. I set return to hobby target of Spring 2021.
Summary of thread:
- Original setup:
--- post #1 - initial purchase & setup, including tank floor shim
------- chiller undersized & replacement TBD August
------- floor shim aka support underneath tank
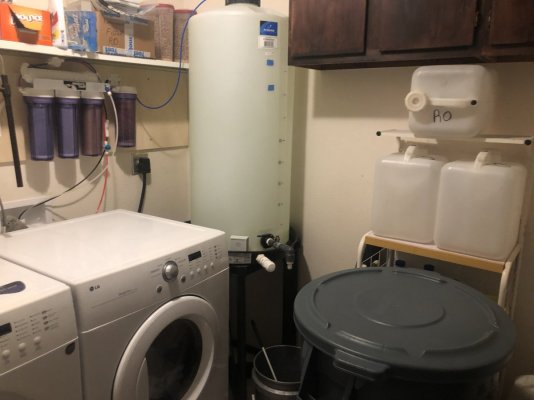
--- post #3 - water change plan (RO setup in laundry room)
--- post #5 - cleaning filter socks
--- post #6 - aquascape caves for fish sleeping (coming)
- Ongoing documentation
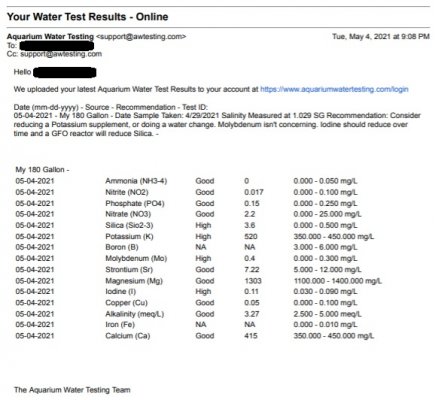
--- post #4 - mail order ICP water results from aquariumwatertesting.com
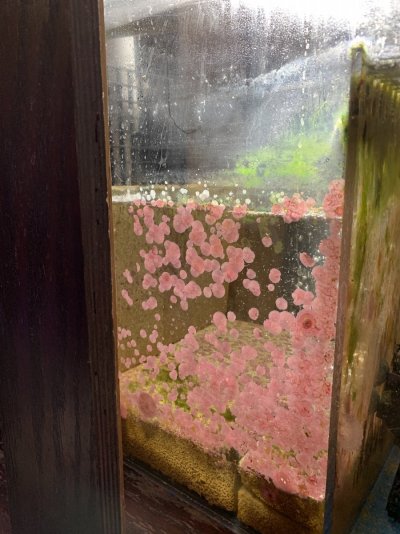
--- post #7 - coralline algae growth (main tank and its sump)
--- post #8 - CBB Copper Banded Butterfly (2nd try)
--- post #11 - live black worms (fridge keeper vs aquarium culture)
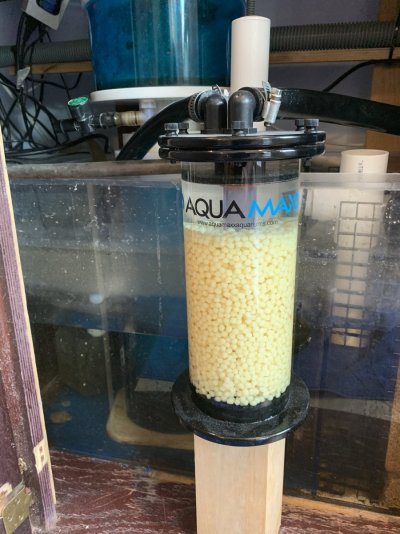
--- post #12 - UV sterilizer and bio-pellets (aka green hair algae control)
--- post #17 - Princess Anthias (aka my pink dream beauties)
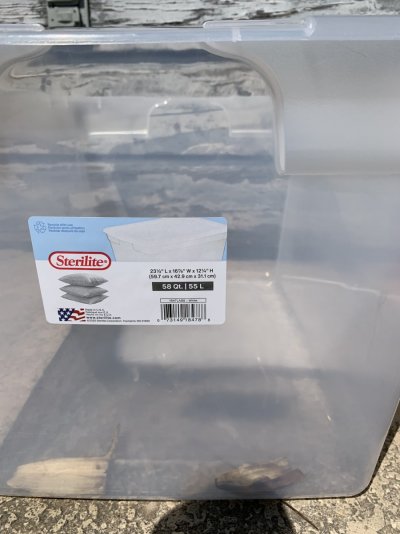
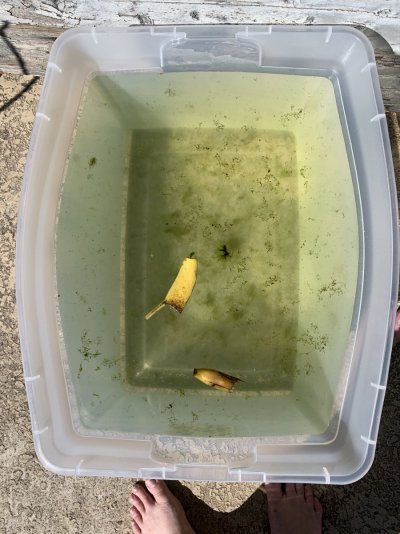
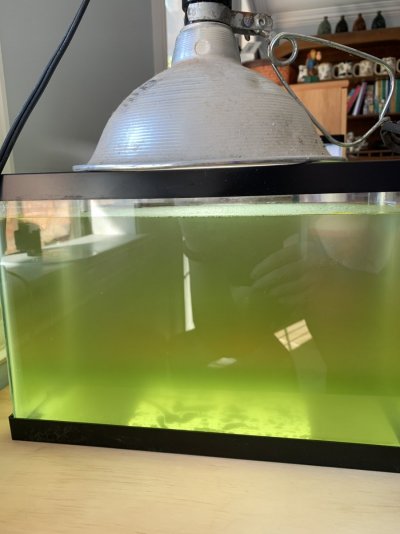
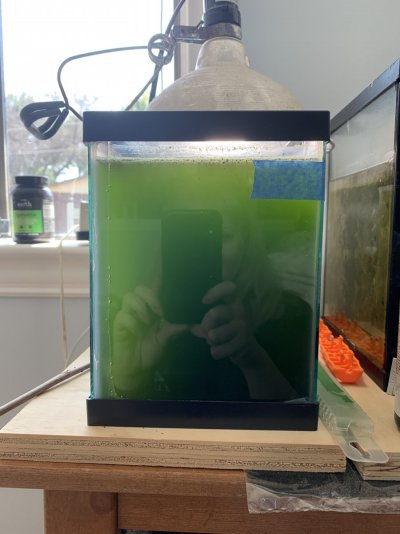
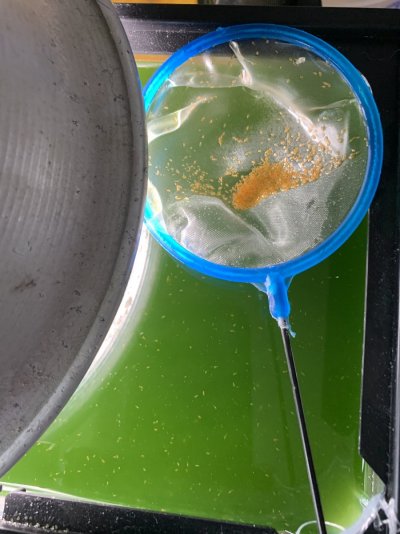
--- post #18 - Pod Culture (aka growing pods using banana peel)
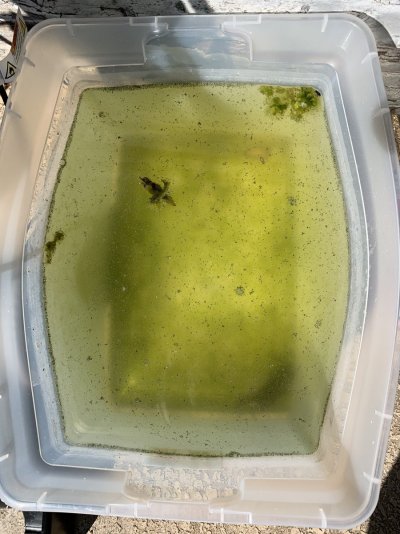
--- post #19 - Indoor Pod Lazy Culture 2.5g tank culturing bottle per day
----- jump right there: https://www.reef2reef.com/threads/m...rning-to-saltwater-hobby.815645/#post-8744125
Original Setup:
Our home came with a "bonus room" which most in neighborhood had ripped off their homes due to poor construction. We framed out 2x4s on two walls to hide the house exterior bricks. We added ceiling and wall insulation, which likely is why most neighbors hated their bonus room electrical usage and/or temperature control (had NO insulation). We added ceiling canister lighting with two lights at "small end" (between doorways path) being controlled by dimmer and middle and other end of room 4 lights being controlled by another dimmer. Then we dry walled and trimmed so now entire room looks like "room" intended to always be there. We'd planned a mini-split heating/cooling unit but haven't yet purchased for installation (as of Summer 2021) but we do need/want that enhancement.
Before laying our travertine floor tile, we ground down cement super high areas, used thinset and cement to raise floor. We tried to ensure our tile laying was most flat where tank would go. As soon as room was remodeled and we were just doing our 'punch list items' I actively was watching for used reef parts to reduce my costs.
My local DFWMAS club sales forum included a complete tank setup sale from someone leaving hobby. I bought it. Our original planned tank size was smaller and middle of room along different wall. This meant our electricity plan for dedicated circuit with 4 outlets would essentially be unused and tank would share room's electricity. This also meant our careful flat floor placement wasn't going to be used by fishtank. Further below is 6 foot shim box details.
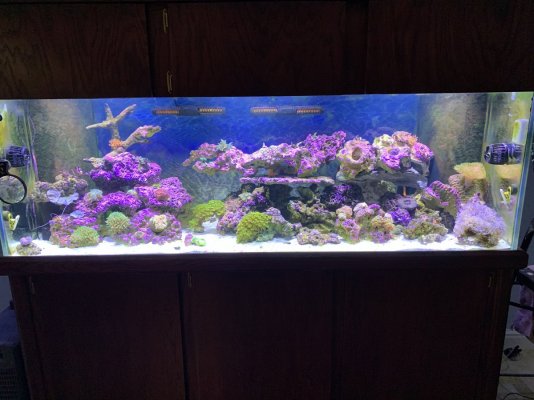
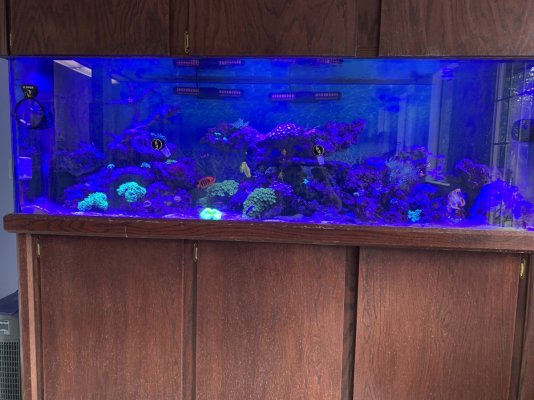
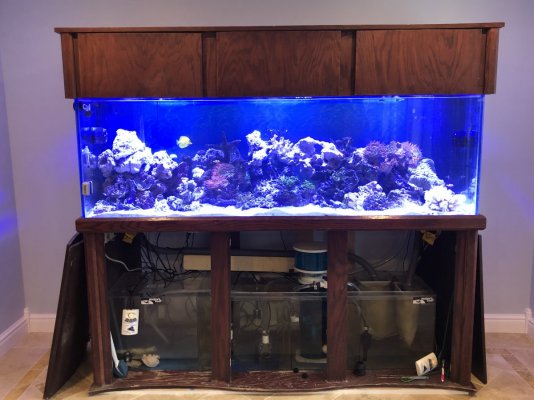
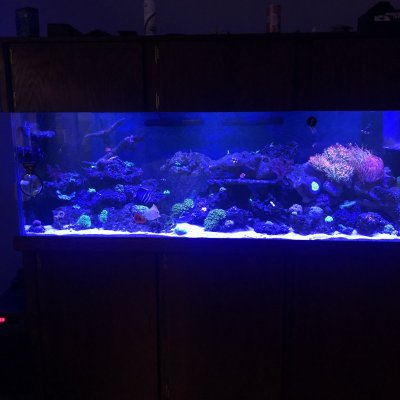
November 11, 2020 used a DFWMAS partner LFS to relocate tank, fish, anemones most water & all to our home. This first photo is eleven days after move on November 22, 2020 once water parameters, coral, 13 anemones and my 2 fish seemed stable.
Chiller (undersized replaced):
Above also came with a broken chiller which we fixed. The chiller has turned out to be undersized for our 180 gallon display tank. Adding to that, our room doesn't have the planned mini-split heating/cooling originally planned. The glass sliding door that was original to house is left open all the time so this room gets all its heat and cooling from main house. There is a ceiling fan to move air, and a giant original window that opened from kitchen to room is left open as well. We have added a floor box fan blowing from doorway to undersized chiller. We are also keeping tank canopy top side doors open to remove heat from tank area.
Replacement 1/4 HP chiller ordered and expected arrival by early August 2021.
Support Underneath aka "SHIMS":
Before stand and tank went in, we had to compensate for flooring. This room originally was porch, so sloped from front to side and side to side to facilitate draining away from house and garage foundations before original builder turned slab porch into bonus room. While floor may SEEM level, if you peek at white peeking underneath tank stand, you may be able to tell a little more white on right side than left side, when facing tank (see photo, above)
Since originally we had planned smaller tank, our tank placement shifted to area shown in above photo. This is because the original cement slab is thickest where room corner has house on one side and garage on other side.
Once realizing we were getting 180g tank, we measured stand then determined where it would be placed. We ripped down 1x6 lumber as "shims" to level all direction making flat surface to then sit display stand. These 1x6" also compensated for differences in each tile as the rectangular tiles in hex pattern had more rise/lift in the area where the 180g would ultimately be placed (shown).
For our 180g shims, we also used 4x4 posts cut crossgrain for added support and those went in corners and where down support posts in stand came down. We were also thinking ahead when laying 2 supports across bottom of stand so over time no bowing within stand itself, even though sides had support.
Instead of leaving bare wood, we painted all individual 'shim' parts with white paint leftover from room's remodel. After white paint dried, all parts were then taped to floor using painters tape so they would not shift when display tank was moved into place. After tank stand, tank itself, fish, water, etc was in, we removed visible blue painters tape from the three visible edges.
<TBD picture of 360 degree level 'shims' painted white, before tank stand on top>
Summary of thread:
- Original setup:
--- post #1 - initial purchase & setup, including tank floor shim
------- chiller undersized & replacement TBD August
------- floor shim aka support underneath tank
--- post #3 - water change plan (RO setup in laundry room)
--- post #5 - cleaning filter socks
--- post #6 - aquascape caves for fish sleeping (coming)
- Ongoing documentation
--- post #4 - mail order ICP water results from aquariumwatertesting.com
--- post #7 - coralline algae growth (main tank and its sump)
--- post #8 - CBB Copper Banded Butterfly (2nd try)
--- post #11 - live black worms (fridge keeper vs aquarium culture)
--- post #12 - UV sterilizer and bio-pellets (aka green hair algae control)
--- post #17 - Princess Anthias (aka my pink dream beauties)
--- post #18 - Pod Culture (aka growing pods using banana peel)
--- post #19 - Indoor Pod Lazy Culture 2.5g tank culturing bottle per day
----- jump right there: https://www.reef2reef.com/threads/m...rning-to-saltwater-hobby.815645/#post-8744125
Original Setup:
Our home came with a "bonus room" which most in neighborhood had ripped off their homes due to poor construction. We framed out 2x4s on two walls to hide the house exterior bricks. We added ceiling and wall insulation, which likely is why most neighbors hated their bonus room electrical usage and/or temperature control (had NO insulation). We added ceiling canister lighting with two lights at "small end" (between doorways path) being controlled by dimmer and middle and other end of room 4 lights being controlled by another dimmer. Then we dry walled and trimmed so now entire room looks like "room" intended to always be there. We'd planned a mini-split heating/cooling unit but haven't yet purchased for installation (as of Summer 2021) but we do need/want that enhancement.
Before laying our travertine floor tile, we ground down cement super high areas, used thinset and cement to raise floor. We tried to ensure our tile laying was most flat where tank would go. As soon as room was remodeled and we were just doing our 'punch list items' I actively was watching for used reef parts to reduce my costs.
My local DFWMAS club sales forum included a complete tank setup sale from someone leaving hobby. I bought it. Our original planned tank size was smaller and middle of room along different wall. This meant our electricity plan for dedicated circuit with 4 outlets would essentially be unused and tank would share room's electricity. This also meant our careful flat floor placement wasn't going to be used by fishtank. Further below is 6 foot shim box details.
November 11, 2020 used a DFWMAS partner LFS to relocate tank, fish, anemones most water & all to our home. This first photo is eleven days after move on November 22, 2020 once water parameters, coral, 13 anemones and my 2 fish seemed stable.

Chiller (undersized replaced):
Above also came with a broken chiller which we fixed. The chiller has turned out to be undersized for our 180 gallon display tank. Adding to that, our room doesn't have the planned mini-split heating/cooling originally planned. The glass sliding door that was original to house is left open all the time so this room gets all its heat and cooling from main house. There is a ceiling fan to move air, and a giant original window that opened from kitchen to room is left open as well. We have added a floor box fan blowing from doorway to undersized chiller. We are also keeping tank canopy top side doors open to remove heat from tank area.
Replacement 1/4 HP chiller ordered and expected arrival by early August 2021.
Support Underneath aka "SHIMS":
Before stand and tank went in, we had to compensate for flooring. This room originally was porch, so sloped from front to side and side to side to facilitate draining away from house and garage foundations before original builder turned slab porch into bonus room. While floor may SEEM level, if you peek at white peeking underneath tank stand, you may be able to tell a little more white on right side than left side, when facing tank (see photo, above)
Since originally we had planned smaller tank, our tank placement shifted to area shown in above photo. This is because the original cement slab is thickest where room corner has house on one side and garage on other side.
Once realizing we were getting 180g tank, we measured stand then determined where it would be placed. We ripped down 1x6 lumber as "shims" to level all direction making flat surface to then sit display stand. These 1x6" also compensated for differences in each tile as the rectangular tiles in hex pattern had more rise/lift in the area where the 180g would ultimately be placed (shown).
For our 180g shims, we also used 4x4 posts cut crossgrain for added support and those went in corners and where down support posts in stand came down. We were also thinking ahead when laying 2 supports across bottom of stand so over time no bowing within stand itself, even though sides had support.
Instead of leaving bare wood, we painted all individual 'shim' parts with white paint leftover from room's remodel. After white paint dried, all parts were then taped to floor using painters tape so they would not shift when display tank was moved into place. After tank stand, tank itself, fish, water, etc was in, we removed visible blue painters tape from the three visible edges.
<TBD picture of 360 degree level 'shims' painted white, before tank stand on top>
Last edited:



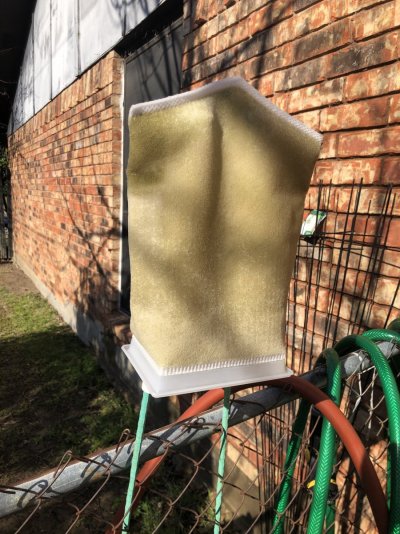
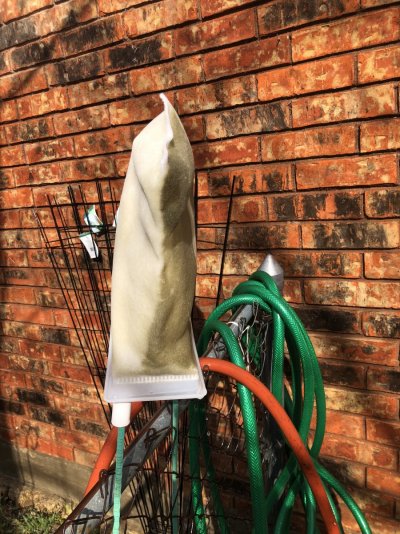
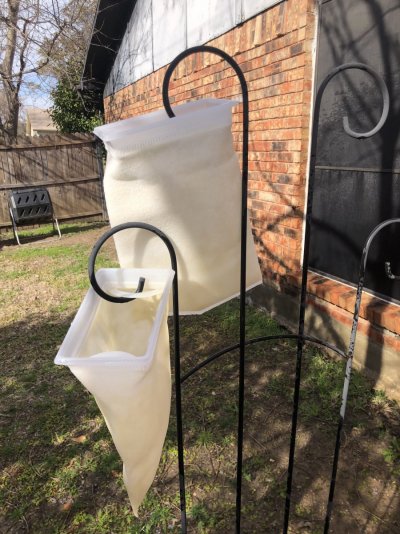
![IMG_0059[1].JPG IMG_0059[1].JPG](https://www.reef2reef.com/data/attachments/2910/2910997-d0333f1b2ea91b5e5e2234418e722134.jpg)
![IMG_0060[1].JPG IMG_0060[1].JPG](https://www.reef2reef.com/data/attachments/2910/2910998-93b1edec2d8653bdbf047d5121667e61.jpg)
![IMG_0061[1].JPG IMG_0061[1].JPG](https://www.reef2reef.com/data/attachments/2910/2910999-a97ff078ef83b90a960a47e62b42a46f.jpg)
![IMG_0062[1].JPG IMG_0062[1].JPG](https://www.reef2reef.com/data/attachments/2911/2911001-91470334d8234d1e655ea67f0bb8628d.jpg)

